AIMaginX 02-Mastering FLUX Kontext:The Grammar of Creation
The Grammar of Creation: How to Command FLUX Kontext Pro with Perfect Prompts
Keywords: FLUX Kontext prompts, AI prompt guide, AI image editing commands, mastering AI prompts, AI verb grammar, Change vs Replace, AImaginX
Author: AIMaginX
Date: June 21, 2025
Using FLUX Kontext Pro is like learning a new language—a language where verbs are your magic wands. Choosing the right command word is the secret to moving from random results to precise, intentional creation. To truly master this tool, you must understand its unique "verb grammar."
This isn't about stringing together keywords; it's about giving clear, actionable commands. Let's break down the core verbs that will form the foundation of your creative workflow.
Local Tweaks vs. Total Overhauls
Not all edits are created equal. Using the wrong verb can lead to frustratingly unexpected results. For instance, do you want to modify an object or replace it entirely?
-
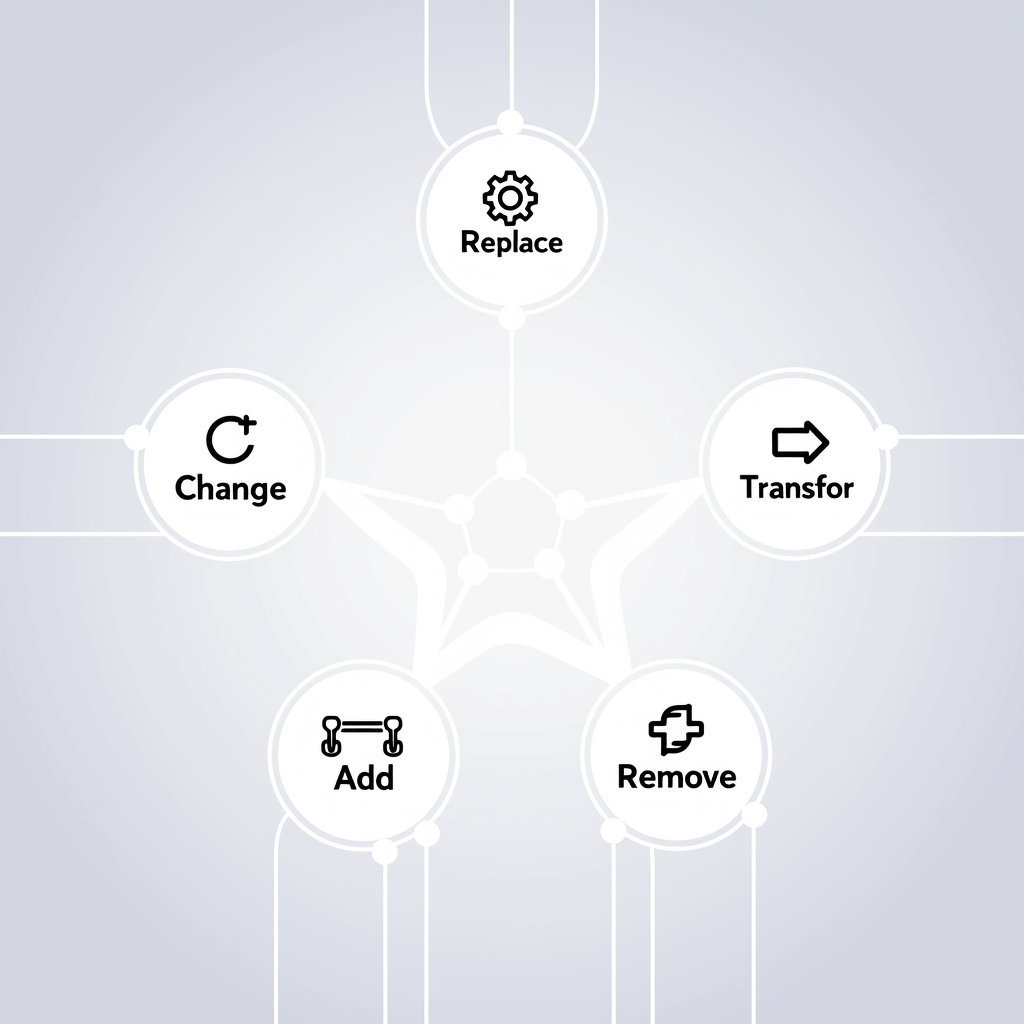
Change: This is your go-to for modifying an existing element's attributes. It's for subtle, local edits. Think of it as painting over a specific part of the canvas.- Use it for:
Change the sky to a sunsetorChange his hair color to blue.
- Use it for:
-
Replace: This is a more powerful command used to completely swap one object for another. The original object is removed, and a new one takes its place.- Use it for:
Replace the apple with an orangeorReplace the text 'Hello' with 'Goodbye'.
- Use it for:
Let me walk you through these operations on AIMaginX:
Change:
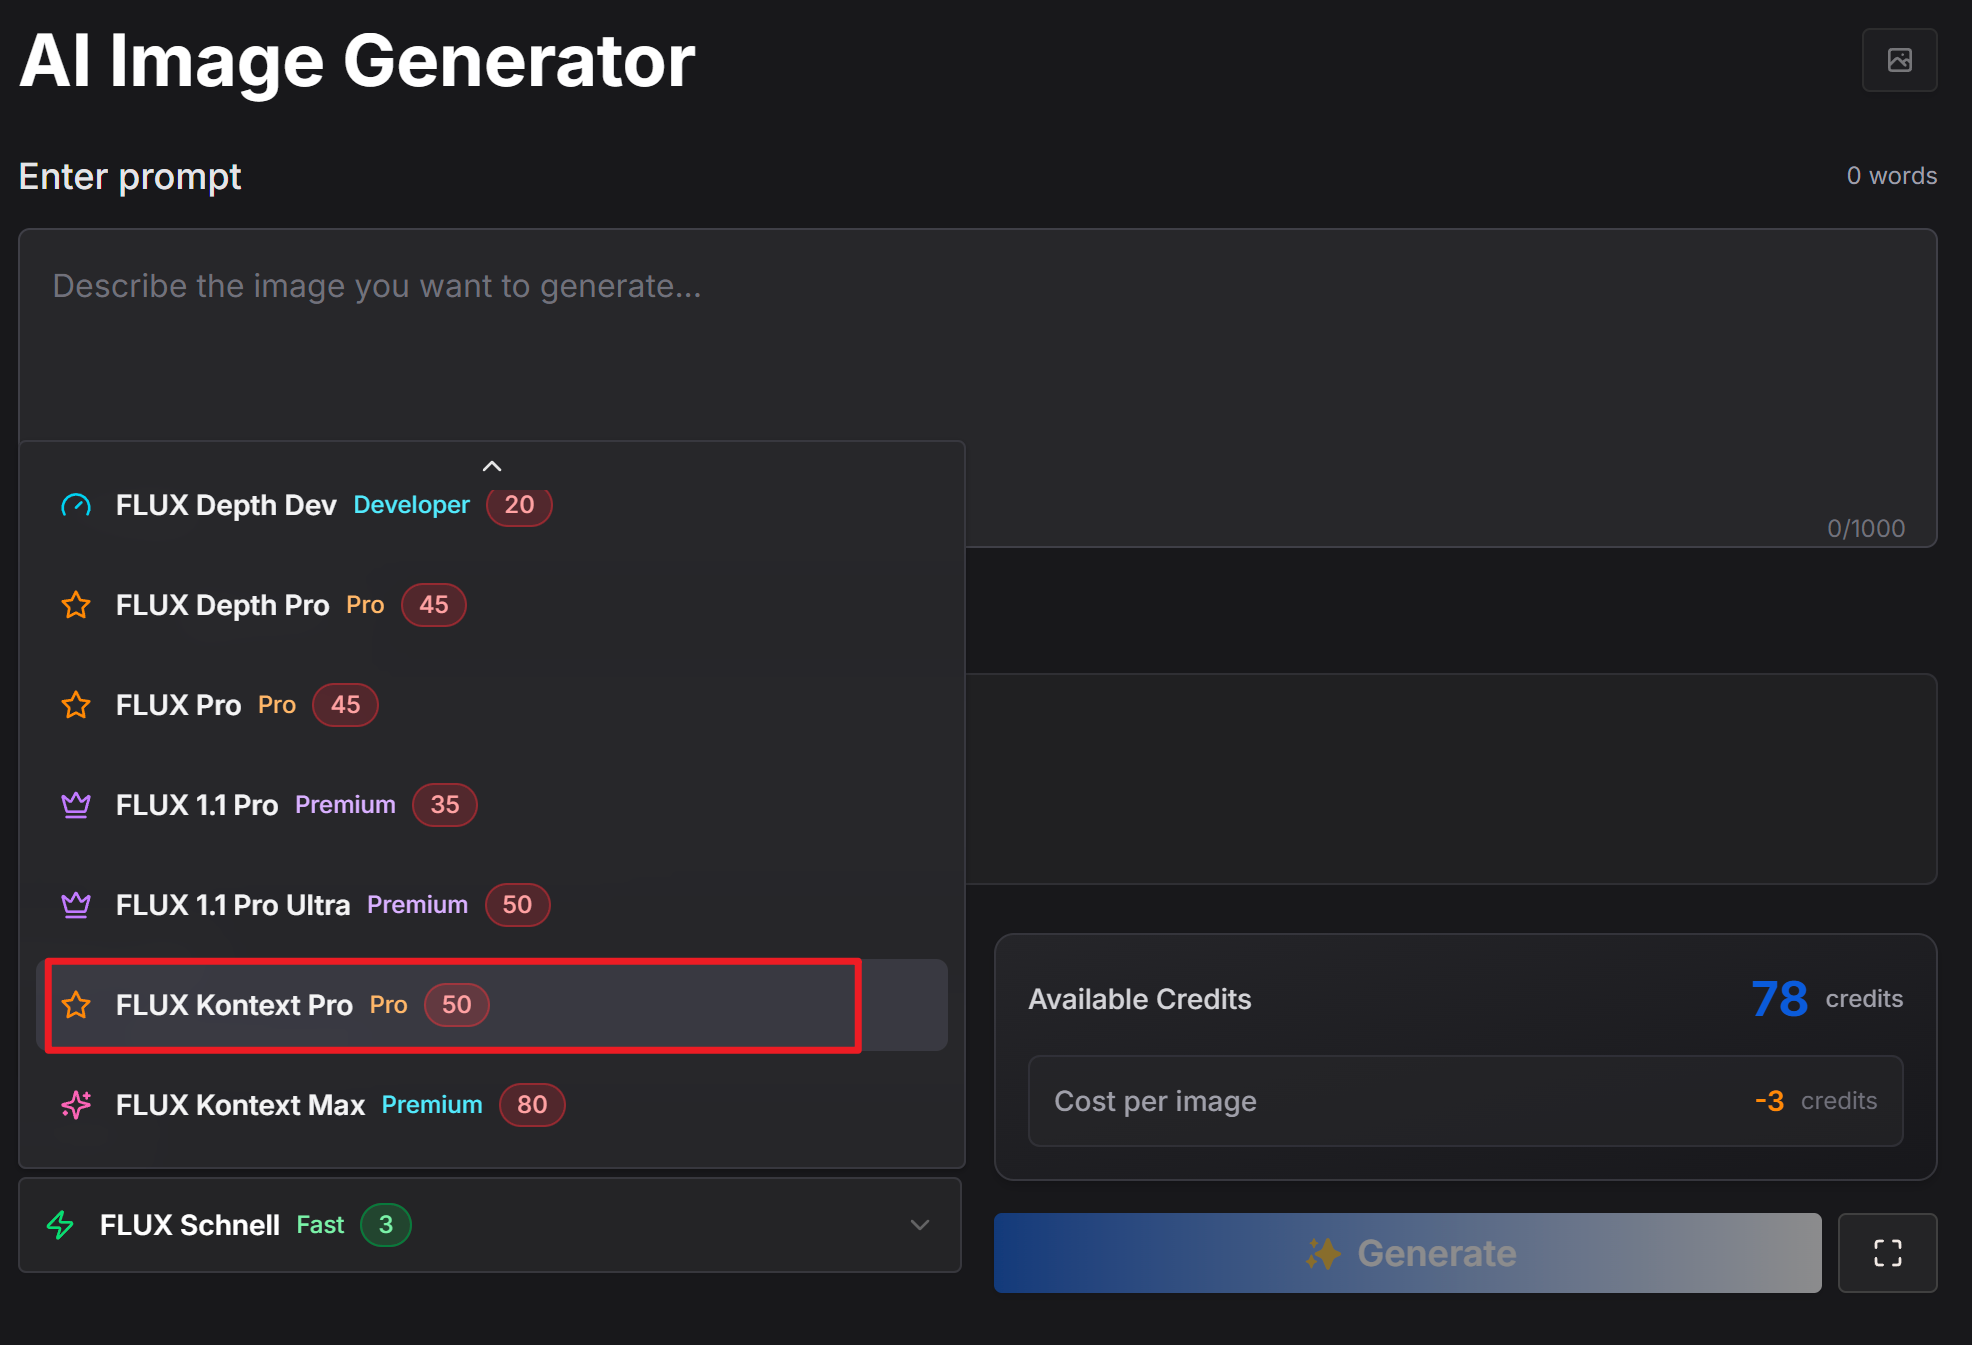
- First, select the AI Model (FLUX Kontext Pro). This enables the image upload feature, as this model supports reference images.
- Upload an image that includes a sky and enter the prompt:
Change the sky to a sunset
- You can select the Aspect Ratio to change the proportions of the generated image. If you don't select one, it will default to the same aspect ratio as the original image.
- Click the Generate button. The resulting image is below:

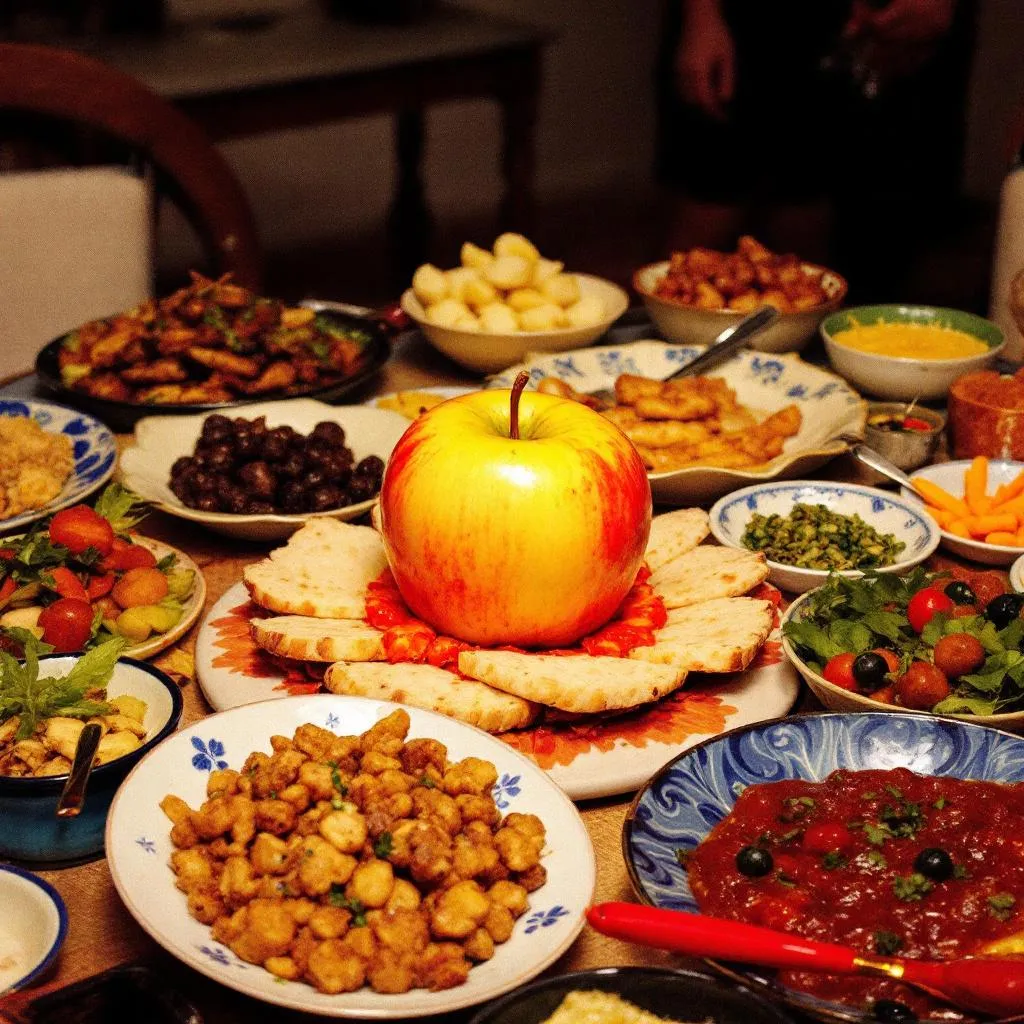
Replace:
The steps are the same as above. Simply change the prompt to Replace the apple with an orange and upload the following image:
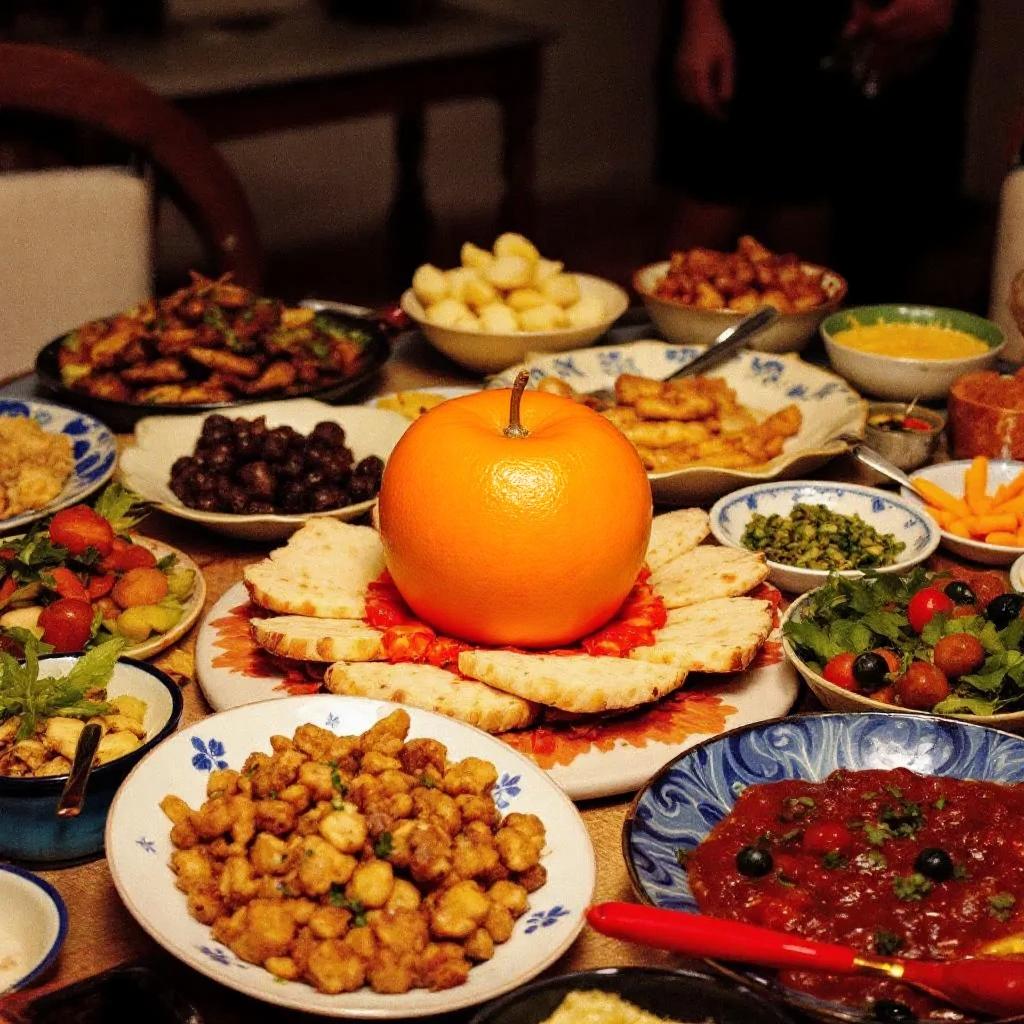
 After clicking Generate:
The Ultimate Transformation
What if you want to change the entire mood and style of the image? That’s when you need the most powerful verb in your arsenal.
-
Transform: This command applies a global style to your entire image. It's not about changing one element; it's about reimagining the whole piece in a new artistic style. It's the broadest and most impactful command.- Use it for:
Transform into a ghibli style paintingorTransform the photo into a neon-lit cyberpunk scene.
- Use it for:
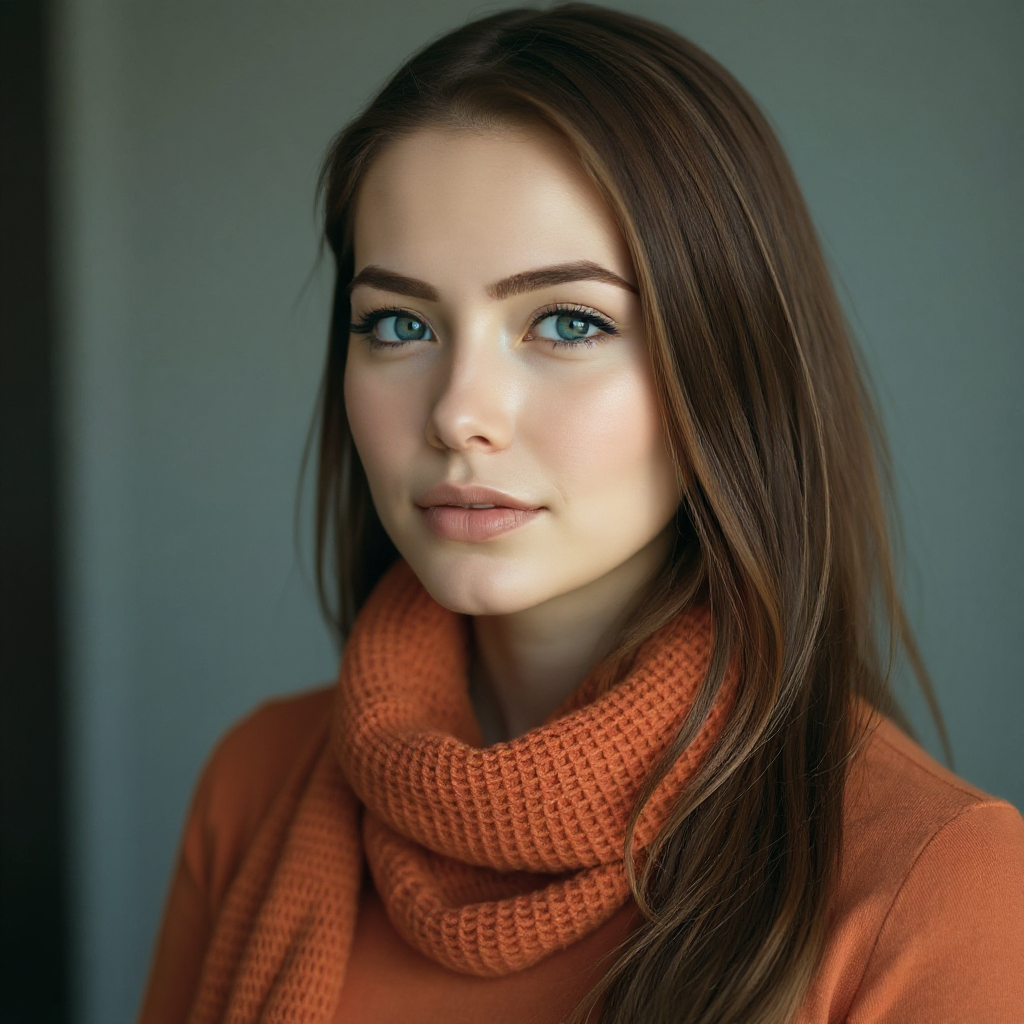
Following the same steps, change the prompt to change into a red clothes, and upload the image below:
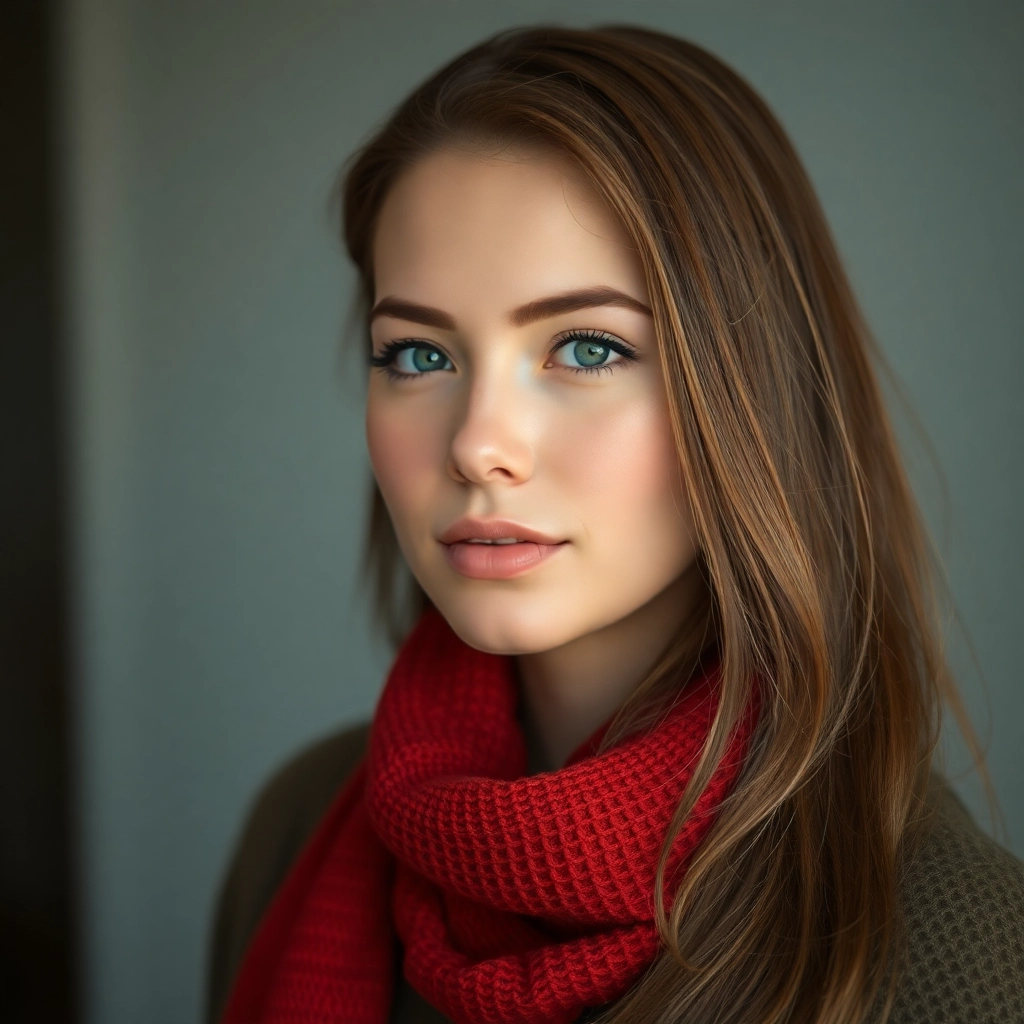 Click Generate:
 Next, change the prompt again to
 Transform into a ghibli style painting, and upload the image you just generated.
Click Generate:

[Image: A triptych of images. The first is the original photo. The second shows a "Change" (e.g., change into a red shirt). The third shows a "Transform" (the whole image transform into a watercolor painting).]
Mastering this distinction is crucial. Using transform when you only want to change a small detail can ruin your image, while using change when you want a new style will leave you disappointed.